


Raised Beds Part II: Foot by Foot

Professional growers know that planning the season's planting depends heavily on good record keeping. Record keeping is meaningless if your garden isn't organized. On a micro scale, a good way to begin this process is by using a planting system known as square-foot gardening. Square foot gardening is very easy to to with a raised bed system. It gives you real, visible guidelines to be able to plan your garden year after year. Plus, it's really cute.
To start, simply tap nails along the perimeter of the raised bed 1 ft. apart. (See Raised Beds Part I.) Make sure you measure from the inside, so all your squares will measure 1x1' of growing space. Tie garden twine across the length of the bed. If your bed is 4 feet wide, you should have 3 long lines across the length of the bed. Next, tie the twine from the nails along the length to their corresponding nails on the other side. You should end up with a square foot grid. My raised bed measures 4x10 feet, so I have 40-1 foot squares to work with.
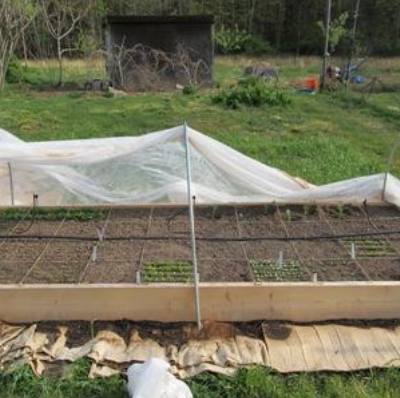
 The 4'x10' square foot just after being created, shown here with hoops for row cover and over-head irrigation.
Before planting and sowing, make a plan. Create a list of what you want to grow. Count the number of crops you have chosen. This, and the amount of space each crop will take up, will determine how many squares you will need for each different crop. For example, 1 dwarf Tiny Tim Tomato plant will need 1 square foot of space, but you might want more than a handful of tomatoes each week, so you might want to plan for 4 dwarf tomato plants in four of your squares.
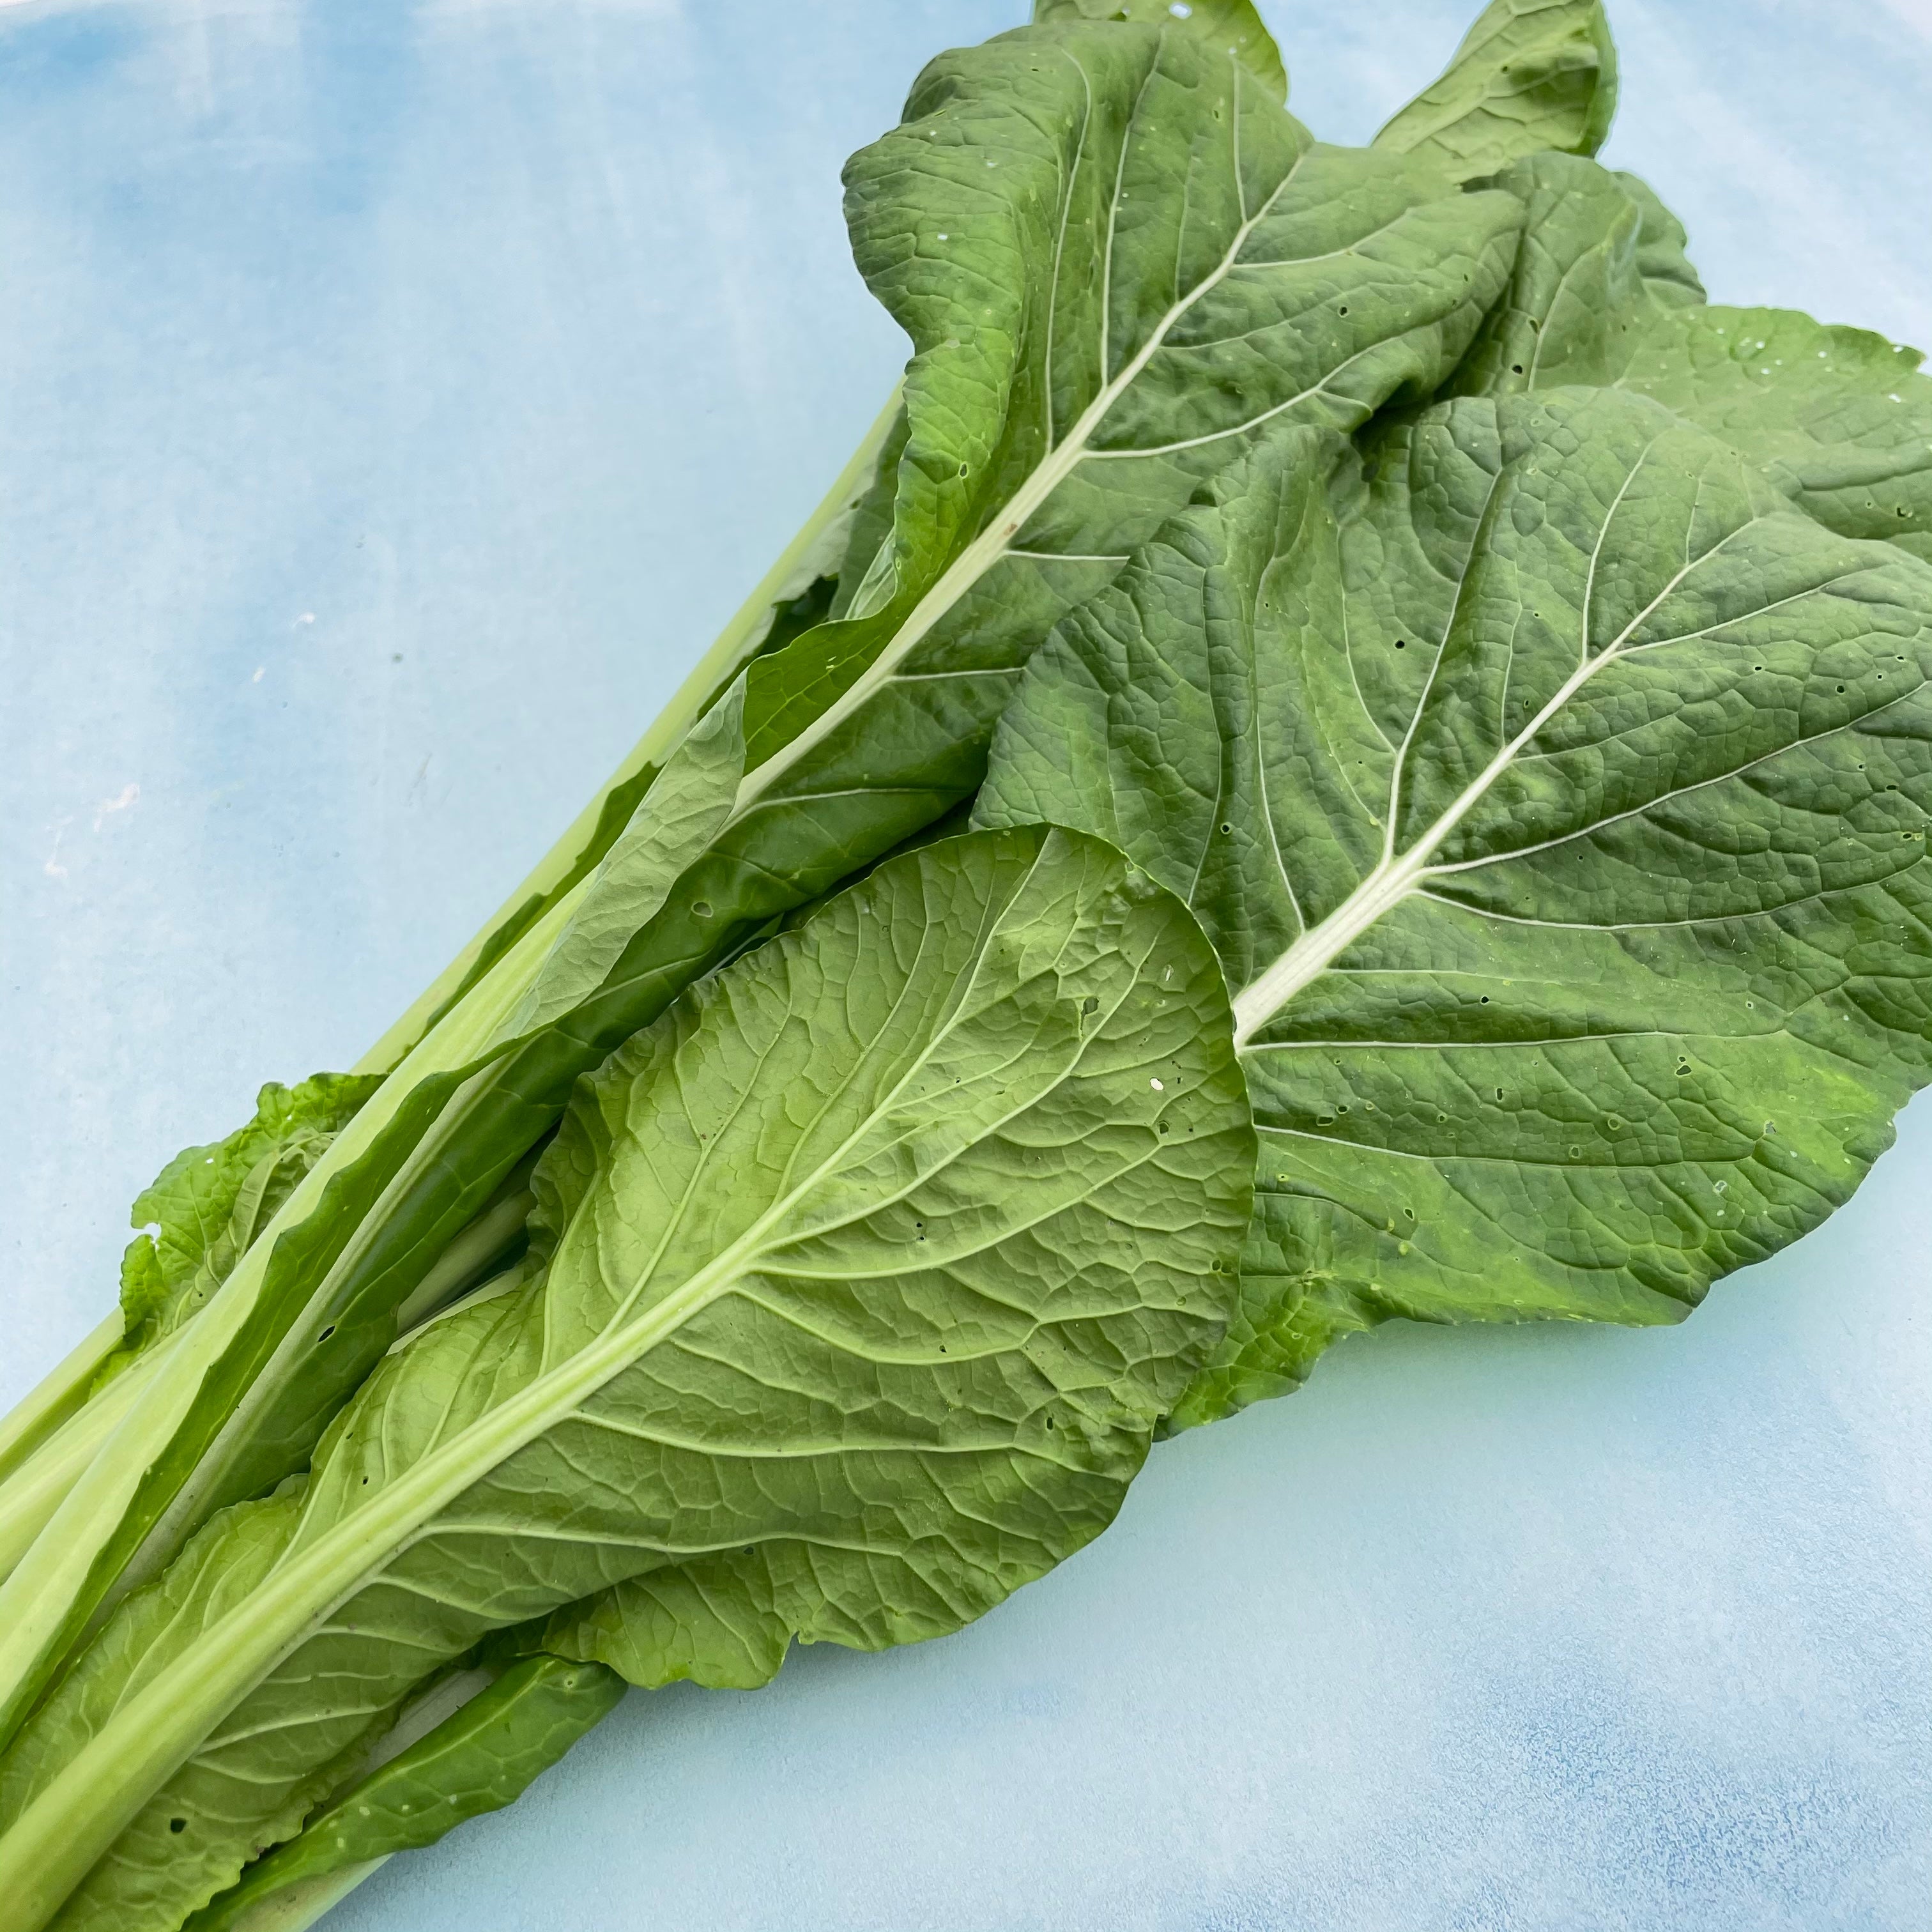
 Provider Green Beans (foreground) are planted in 2 squares, 2 plants each, while 250 Ultimate Salad Bowl seeds (background) are planted in one square, soon be cut for the ultimate salad eating experience!
Apply your list of crops and the number of squares they will take up to the garden space. (This will be your crop plan!) Tall plants that need to be trellised should be placed on the north side so they don't shade out the other crops. Also, crops with a tendency to flop over, but don't need to be trellised can be planted on the edges, such as nasturtiums, cucumbers and melons. Other crops will take up to 4 square feet (such as Cocozelle Zucchini), so make sure you figure that into your plan as well. You can also plant cool loving lettuces and greens under tall summer plants such as Tom Thumb Lettuce directly in front of Blue Lake Pole Beans.
Once your crop plan is complete, save it in a notebook or transfer it to a computer file. You can add valuable notes to your plan to help you in the years to follow. Record the size of your harvests each week, the yields with your spacing, the amount of seed you used, and the like, and keep them with your garden plan. You can even attach copies of your seed order and/or seedling purchases. This will take much of the guess work out of the planning decisions you will make in the future.
 Piracicaba Broccoli is planted "under" Laxton's Shelling Pea, which will be trellised soon, providing a bit of shade for part of the day for the broccoli.
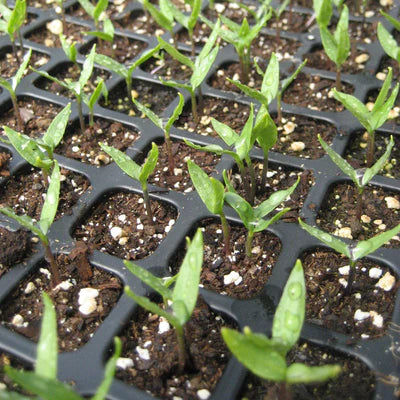
Now, start planting! If your plan included many short season crops (greens, radishes, beets) you will be harvesting those crops in 4-8 weeks, so you can also put together a second crop plan to fill those squares when empty to help maximize your eating potential for your square foot garden.