
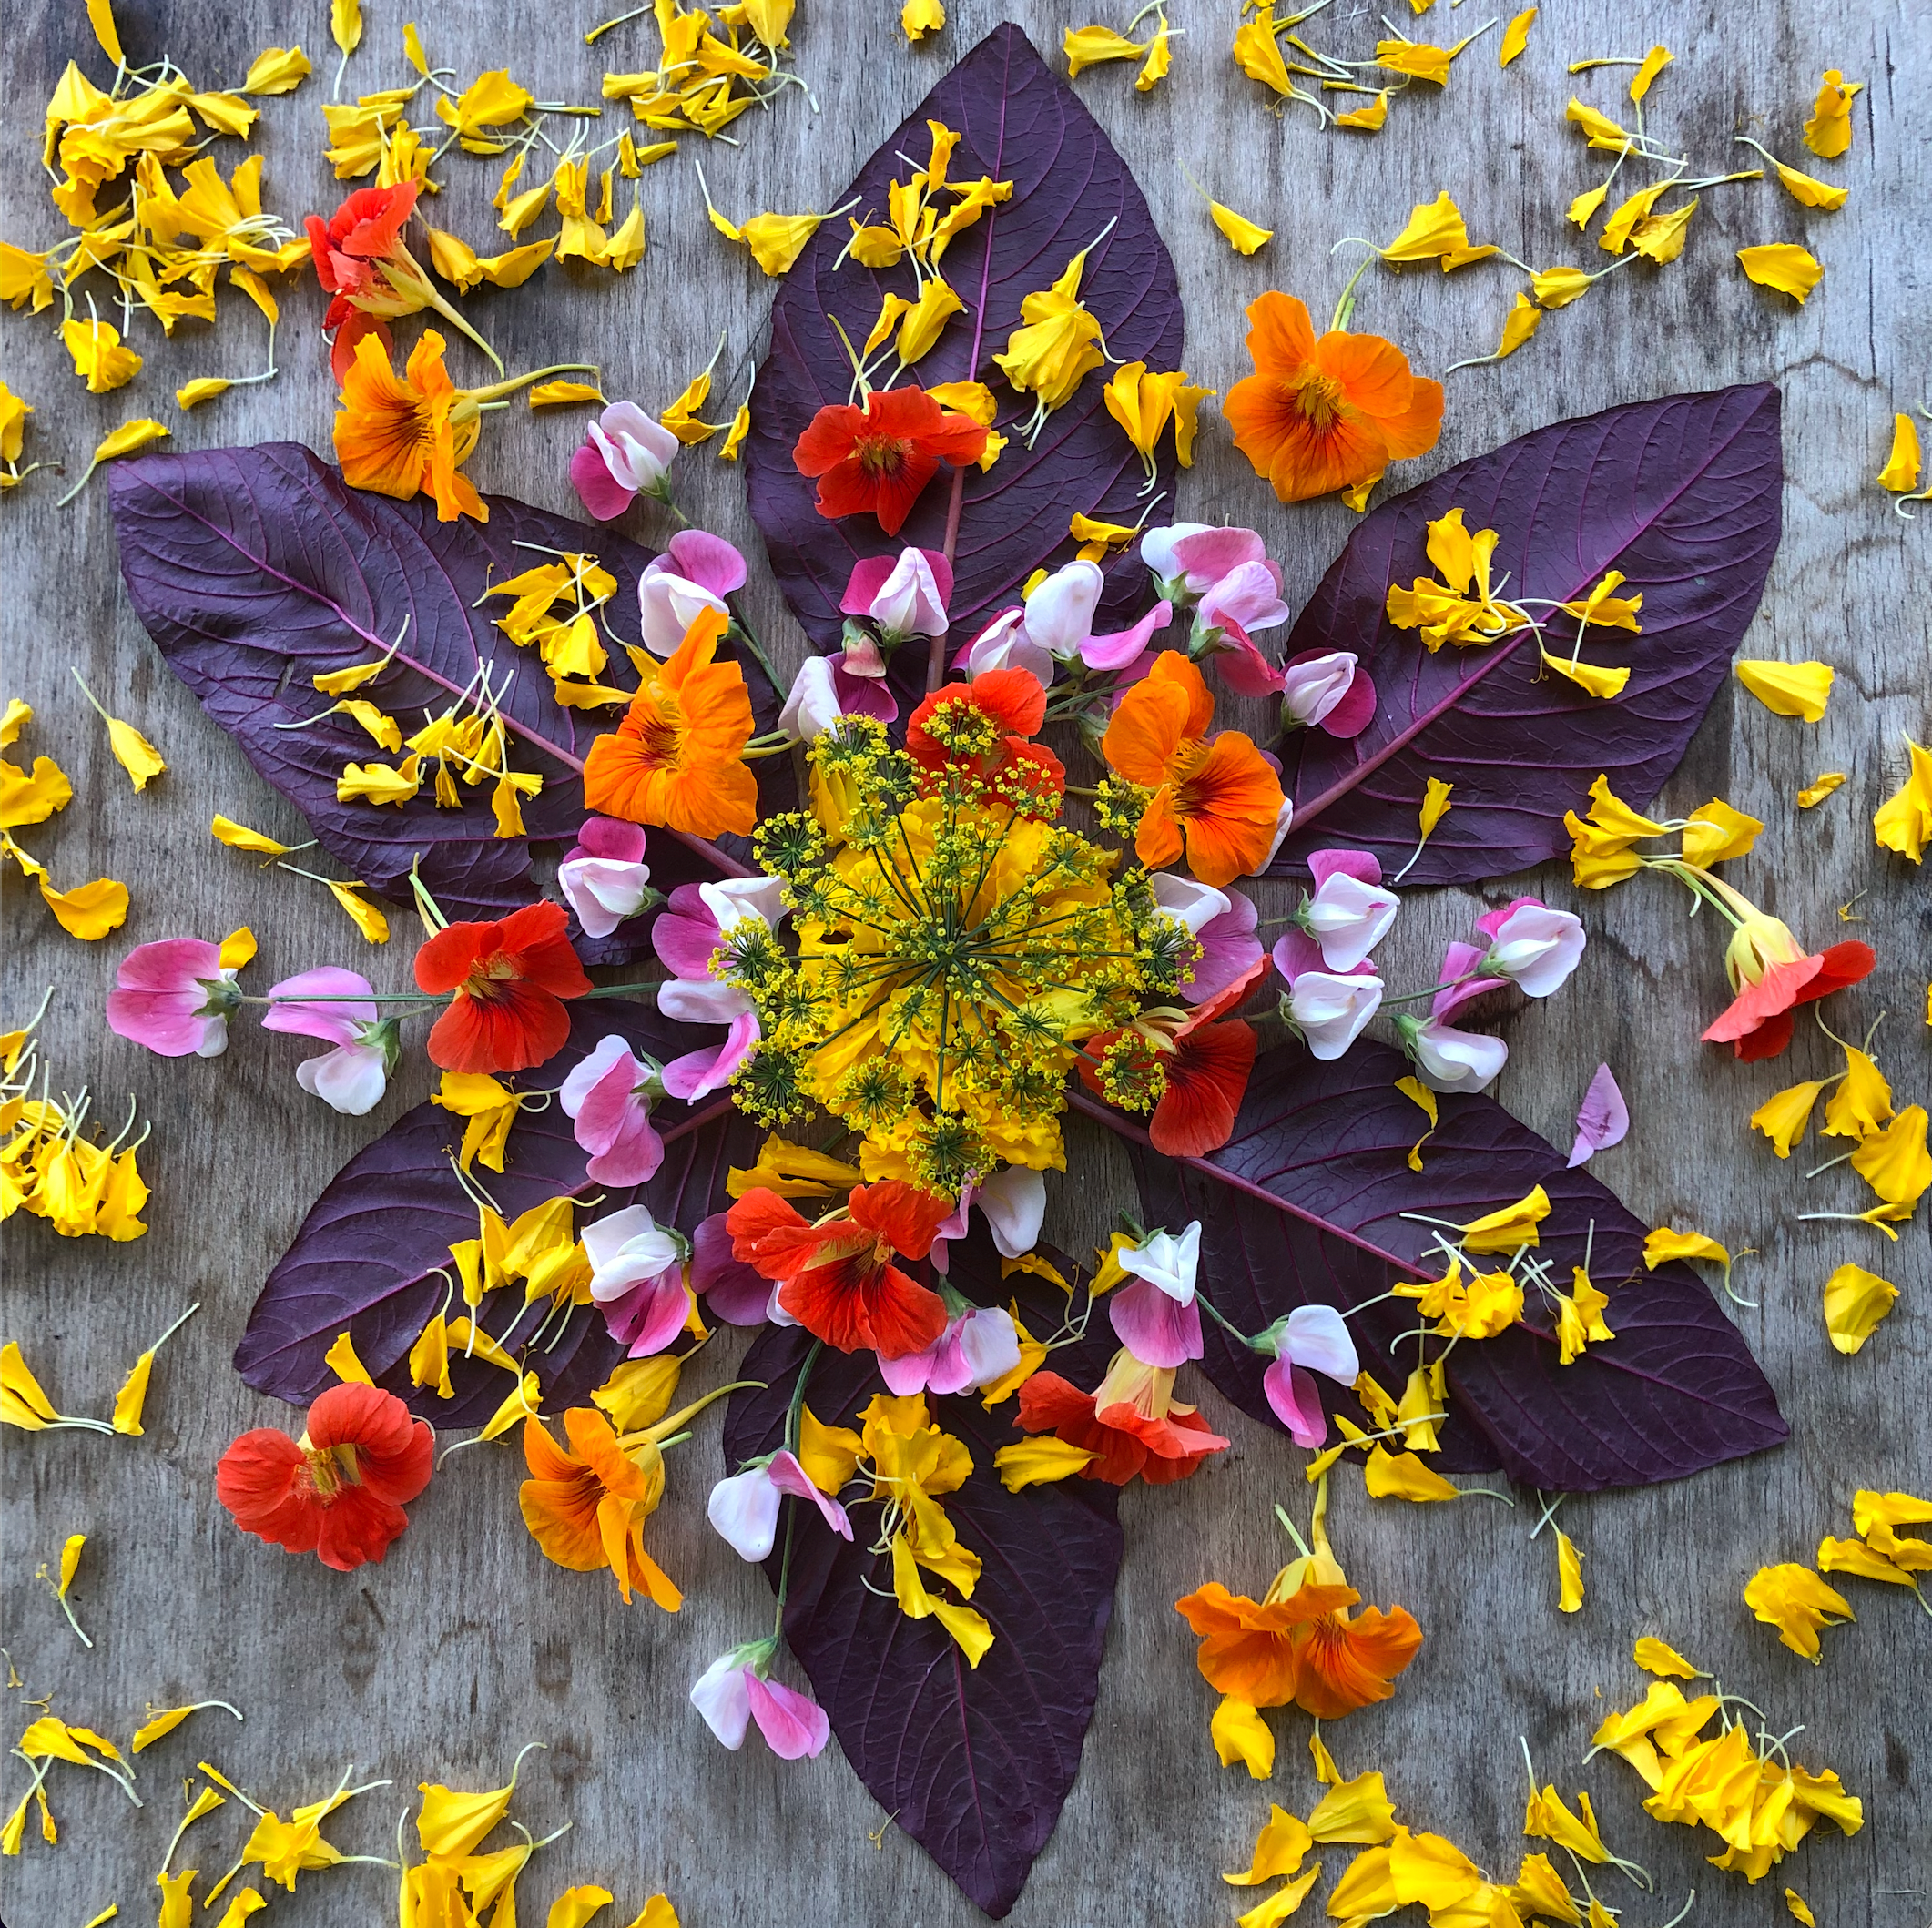
Seedy Eats: Winter Squash
 Most seed saving happens just after peak harvest season when the weather begins to wain, but the work load is still in full swing. As we have learned in previous posts, there are some seed crops that cannot be consumed, and others that give us the gift of food and seed at the same time. Winter squash falls under the latter category, and gives us further reason to love this seed crop--time. Since the seeds are in the cavity, and winter squash is a storage crop, you can seed save at your leisure (if you aren't running a seed company of course!)
For the past few years, we've focused on growing winter squash varieties that are rare and tasty. We've grown Violina Rugosa Butternut Squash (C. Moschata) and Blue Kuri Kabocha (C. Maxima) for the past two seasons. Each is quite delicious and the entire staff is thrilled when farmer Stu brings wheel barrow loads of seedless squash flesh for our freezers.
This post outlines the basics of growing a winter squash seed crop. Once you've mastered the skills in this post, use your squash puree in a delectable pie recipe below.
Growing squash for seed is really quite easy, you need only follow a few guidelines.

Grow only 1 variety from each species of the Cucurbita genus. (Unless you are an experienced hand pollinator.) Since squash are mainly insect pollinated, they cross very easily. Cut back on the work you have to do by growing only 1 variety from each squash species. The species are: C. pepo, C. moschata, C. Maxima, C. ficifolia and C. argyrosperma. Summer squash belongs to the C. pepo species, as do many other winter squash varieties.
Grow as many plants of each variety as you can. Prevent inbreeding by having the largest population you can. We also recommend using a paintbrush to pollinate your female flowers with pollen from different plants within that species.
Allow squash to fully ripen. You will have more mature seed if the squash stay on the vine for as long as possible. This means keeping your plants green and healthy.
Cure squash for 2-4 weeks. If you plan on saving seed over the course of the winter, cure the squash in a warm, dry spot so they will store for several months. Likewise, store squash in a cool, dark dry spot to prevent them from rotting.
Saving squash seed is simple too! You can save the seeds and eat the flesh in one fell swoop:
 Black Forest Kabocha, another great open-pollinated variety!
- Preheat the oven to 400 degrees.
- Cut the squash in half.
- Scoop out the seeds and place in a container. A wide mouth jar works well for 1-3 squashes.
- Add a bit of water.
- Massage the seeds and any flesh that are on the seeds.
- Set the seed/water mixture aside to ferment for 2-3 days, then proceed to step 8.
- Place the squash, either in halves, or sliced into small pieces, cut side up, on a sheet pan. Roast in oven for about 30 minutes, or until flesh is golden and soft.
- To clean the seeds: Your seeds need to ferment for a short time to help remove the flesh and thin coating around the seeds. After a couple of days, when the mixture has just begun to smell a bit funky, strain the through a mesh strainer and rinse with cold running water. Use your hand the rub the seeds against the strainer until all the flesh has dissolved and the seeds are clean. Spread out in a single layer on a screen ( we like old window screens) and let dry for 24-48 hours, turning once.


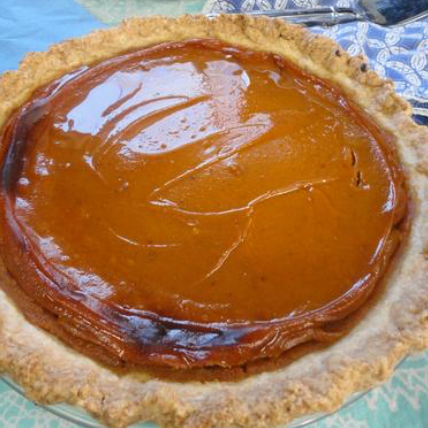
You can eat the roasted squash as a side dish, or scoop it away from the skin and puree it. Use the puree immediately, or freeze and use like canned pumpkin when ready. Our favorite uses are Pumpkin Pie, Squash Ravioli with Sage, Squash Soup, Pumpkin Bread, or just plain!
Pumpkin Pie Recipe
At the Seed library, we used this recipe for a winter squash variety pie-off. The winning squash for this pie was the delectable Violina Rugosa Butternut Squash--a very special Italian variety we've grown and enjoyed as a seed crop for 2 years. Being plant based, it featured the flavors of the squash well, allowing us to really taste the difference between varieties.This recipe has been adapted from Vegan Pie in the Sky to be soy-free.
 1 single recipe pie crust, fitted into a 9" pie plate
3 cups pureed winter squash
1/4 cup maple syrup
1/2 scant cup granulated cane sugar
3/4 cup coconut milk
1/8 cup bourbon
1 heaping tsp ground cinnamon
1 tsp ground ginger
1/2 nutmeg, freshly ground (or 1/4 tsp)
1/8 tsp ground cloves
2 TBS corn or arrowroot starch
1 tsp agar powder
Preheat oven to 350. Place all pie filling ingredients into a blender and blend well until smooth, taking care that the agar is evenly distributed. Alternately, whisk all ingredients, except the starch and agar until very smooth, then lightly sprinkle the starch and agar in while mixing to evenly incorporate.
Pour fulling into pie shell and bake for 1 hour until the middle has set. Let cool completely before eating. Best made 1 day in advance.