
Tomato Smash-up
Many of you have requested detailed seed saving instruction for tomatoes and asked us if it is safe to save seed from blight infected plants. I'm happy to report that blight is not seed-borne. It's a great idea to save seeds from your healthiest tomatoes. The ones who survived blight the best may pass on their resistance to the next generation. So, here's how we like to save our seeds and still have plenty of tomatoes to eat. If you have any questions, please post them as comments to this blog post and I'll do my best to answer. Don't forget, if you are still feeling down about late blight losses or know someone who still has the late blight blues, get one of our cathartic tees!
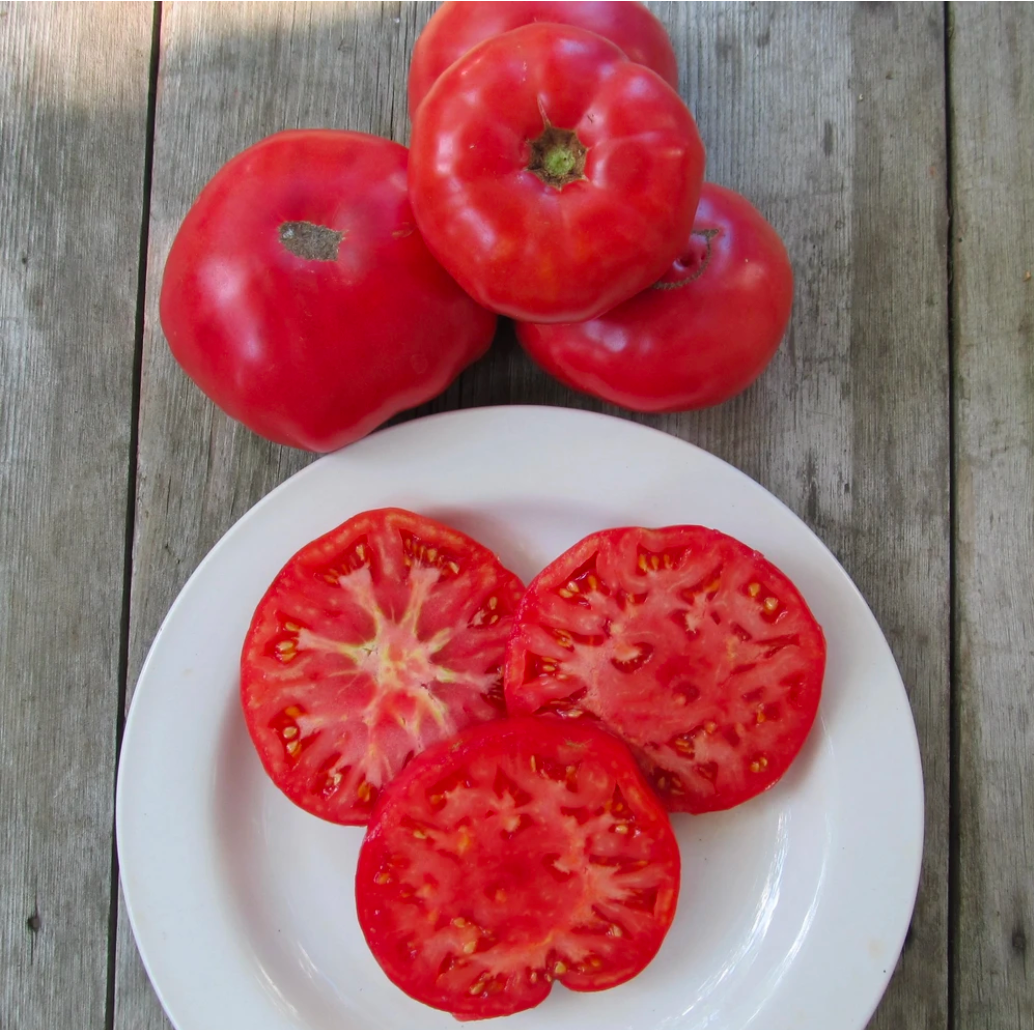
 Tomato Slice
Saving Seeds from Heirloom Tomatoes
Saving seeds from heirloom tomatoes is a great first step in producing your own garden seeds. You usually need only sacrifice a few fruits to save enough seeds for next year’s plants—and even these few fruits will yield a portion of tomato for eating or cooking.
PLAN
To save seeds that will grow true to type, be sure to select from heirloom or open-pollinated varieties. Seed saved from hybrid tomatoes will not grow true.
OBSERVE
Start by eyeing a few of your best-looking fruits as they mature on the vine. It’s best to save seeds from your top performers, so you may even want to sneak a little bite first to make sure your saving seeds from your best-tasting tomatoes.
PREPARE
Once you’ve selected the fruit from which you’ll save seed, gather together a glass jar, a strainer, a plate, and an air-tight container.
PROCESS
1. Let your tomatoes ripen on the vine or even start to go a little soft.
2. Pick the tomatoes from different plants—but don’t eat them yet!
3. Slice the tomatoes in quarters and squeeze the pulp and seeds into the jar. Make sure to keep varieties separate and labeled.
4. Set aside for cooking the fleshy portions of the tomatoes—you don’t need them for seed-saving.
5. Add to the jar the same amount of water as pulp.
6. Let the pulp/water mixture sit for three to five days or until a smelly layer of white mold has formed on the surface. Don’t eat this stuff.
7. Skim off the mold and rinse seeds in strainer until clean.
8. Place seeds on plate, label, and let air dry. For small batches I usually let them dry right in the strainer.
9. Store dry seeds in a labeled, air-tight container in a cool, dark place.
10. Plant your seeds next season!
A NOTE ON CROSS POLLINATION
There are different opinions as to how often different varieties of tomatoes cross with each other. In general, regular leaf tomatoes cross less and potato leaf and cherry varieties cross more. The recommended isolation distance between varieties is 30 to 50 feet. However, many home gardeners successfully collect seed in tight spaces. Give it a try!