


10 Tomato Transplant Tips
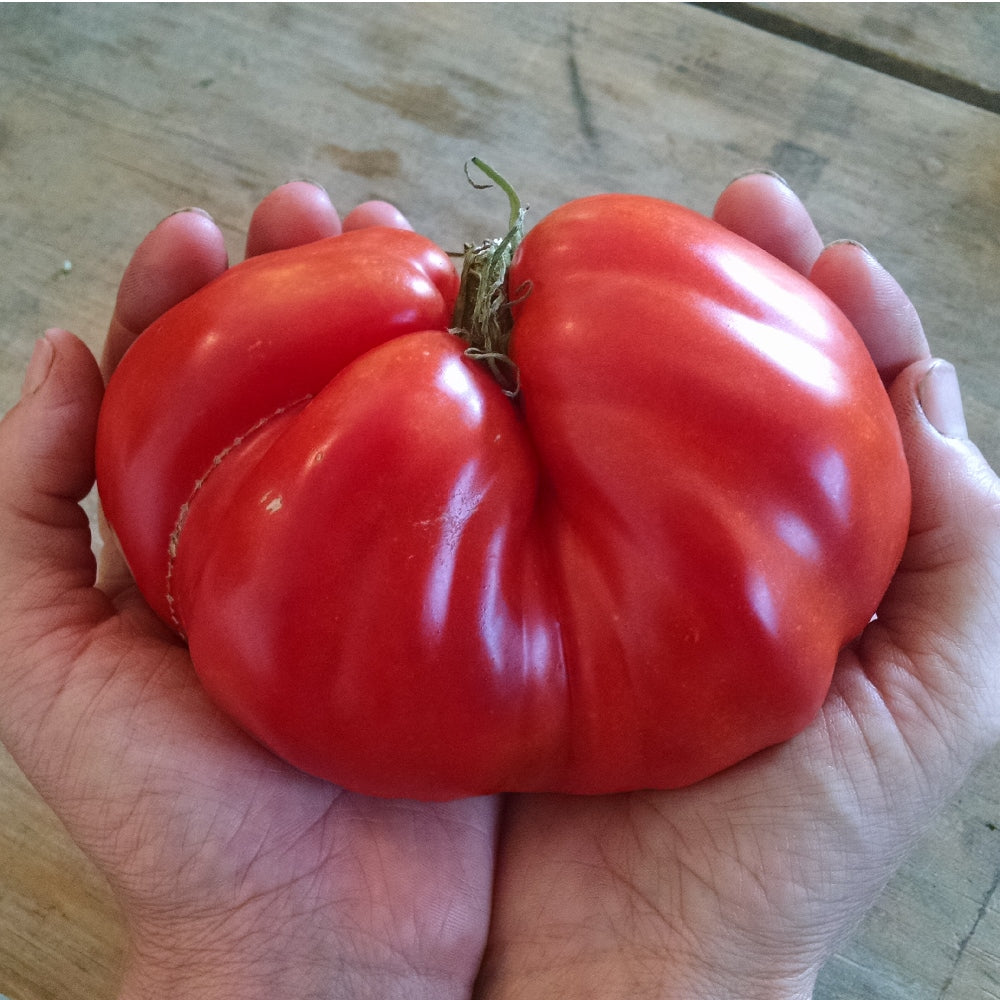
 Plate de Haiti Tomato
To the Northeast vegetable garden, late May brings a transformation almost as dramatic as the one of winter into spring because with the danger of frost finally behind us (we hope!) and the strong sun thoroughly warming the soil, it is time to move all seedlings outdoors and fill bare soil with plants.
Seedlings of the Solanaceous family – which include beloved tender crops such as eggplants, peppers, and tomatoes – have, along with their gardeners, been waiting for this moment since they were germinated in early spring. They can finally move from their stuffy indoor homes to summer in the great outdoors of a garden! Tomatoes, for somewhat mysterious reasons, have been elevated to superstar fame in many home gardens. Perhaps it’s because of their irreplaceable taste and versatility as an ingredient, or perhaps it is because it can feel like a great agricultural feat to raise a tomato from seed to the first ripe, juicy fruit. Either way, tomatoes embrace their celebrity status by being finicky and picky. The coddling that they received since germination has to be weaned off slowly and very gradually as the plants mature, but is essential before, during, and for a while after transplanting. In general, tomatoes are more susceptible than most other common vegetables to fungal diseases, such as early blight. To grow healthy plants, maintaining good tomato hygiene is key – keeping them trimmed, trellised, clean of pests, etc., is essential.
To give your tomatoes the best start in their outdoor life, follow the steps below:
PREPARE FOR TRANSPLANTING:
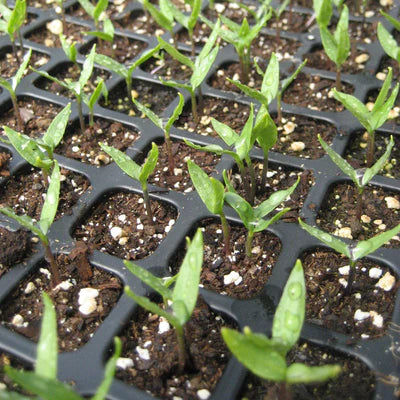
1. Harden off. If your tomatoes have been living in a warm, controlled environment like a greenhouse, cold frame, or living room, they need a little time to get used to the wilder climate outside. Give them a few days to adjust to the swinging temperatures, harsh sunlight and strong wind by bringing them outside for a few hours, then increasing to half a day, a full day, and finally a day and night.

2. Watch the weather & be ready for cold swings. The weather won’t always cooperate, as we all know, but we need to be ready when it does. Tomato transplants are particularly sensitive to cold, and cannot withstand a frost. Frosts can occur when temperatures reach below 40 degrees. If there are forecasted lows around or below 40, wait to transplant. Sometimes, frost occurs late in the season, after it seems fine to transplant. Be prepared for late season cold swings with protective barrier such as row cover. For tomatoes, ALWAYS support the row cover with a frame such as our stainless steel hoops. Direct contact with row cover during a frost can damage the plants just as badly as the cold air can.
3. Prepare the spot. Always plant tomatoes in full sun and if possible, do not grow tomatoes (or any Solanaceous plants) in the same location season after season. Rotating your crops and growing Solanaceous crops in the same spot no more than every three seasons reduces the spread of disease from year to year. When planning your rotations, keep in mind that too much nitrogen will result in large, leafy plants with few fruit. Wherever you grow them, be sure to provide rich soil. Yours plants will need 2 feet of space in between them, and 3-5 feet of space from other rows. Prepare the soil by adding 2-3 inches of compost, and lightly working it in to the top few inches of the soil. Be sure to smooth uneven spots in the surface, and tamp it down to create a nice, firm bed. Review our bed prep tips for more on how to create good, fertile garden beds.
4. Choose a cloudy day, or the cool of evening. To alleviate seedlings from shock, transplant on a cloudy day, or if it’s not in the forecast, plan toward the end of the day, when air and soil temperatures cool and the sun is won’t scorch the young plants.
5. Give space. Air flow is the most vital factor in preventing tomato blight, other fungal diseases, and even the spread of pests. Although in June, it may be tempting to squeeze as many tomatoes as a limited garden bed will allow (fueled by dreams of limitless summer salads or homemade tomato sauce through the winter) adequate spacing will pay off come harvest time in August. We plant our tomatoes two feet apart.
TRANSPLANT:
6. Clean up. Before putting tomatoes in the ground, snip off the bottom-most branches and leaves of the seedlings. You’ll see why in step 9.
7. Un-pot carefully. When taking seedlings out of their pots, don’t break the roots. Place a closed palm over the base of the tomato with the stem sticking out in between your fingers, then use the same technique as building a sand castle using a bucket shape: tip the pot upside down, tap on all sides and bottom to loosen the plant’s grip, and gently pull the pot up to separate. If this doesn’t work, consider cutting the pot away – just don’t pull on the plant itself.
8. Tickle the roots. Loosening the roots will help the plant acclimate faster thus resulting in speedier growth, while but breaking the delicate roots will weaken the plant. To strike the right balance, gently wiggle your fingers through the outer edge of the roots to loosen them just slightly.
10. Water when dry. Regular watering is important, but over-watering can increase the change of disease. Water your seedlings heavily immediately after transplanting; then hydrate them only when the soil dries out. The surface of the soil can dry quickly, but that doesn’t always mean all moisture is gone. To check, stick your finger in the ground: if it comes out wet, the plants still have some water to draw from; if it’s dry – it’s time to water.

LOOKING AHEAD:
Mulch and trellis. A few weeks after transplanting, add a layer of straw mulch to help keep weeds and soil diseases at bay and regulate soil moisture. For more information on tomato trellising, take a look at Ken’s Tomato Trellising Basics.
Check for pests and weeds. Don’t forget to regularly check in on the young plants and monitor their health and growth. Stay on top of pest and weed watch – this is particularly important in the seedling stage, as the plants are too little to compete with persistent weeds and early season pests like cutworms and flea beetles. And, above all, remember that plants want to live. All we, as gardeners, can offer them is a healthy and caring environment to inhabit.
More helpful tomato and transplanting resources:
Troubleshooting in the Tomato Patch
Transplanting and Troubleshooting
Three Ways to Choose Tomatoes for your Garden