


Making the Bed: Our best tips for great germination
 Sow seeds and watch them grow--if only it were that easy! As we all know, there are so many factors at play in the garden, so many ways our little plants could be doomed from the start. There are some things under our control though, and achieving even germination can be as simple as making a smooth and level seed bed.
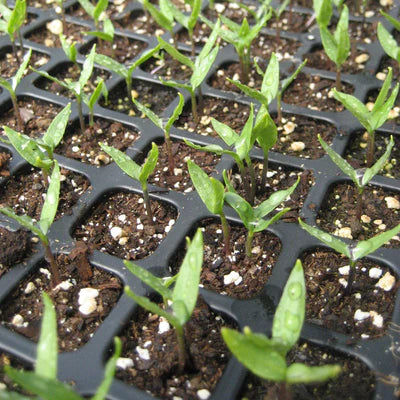
Different crops need different levels of bed prep. Transplants get a head start on the elements and the weeds, so its a bit easier to prepare for them. Large seeded crop like peas and beans are resilient, and in my experience can handle uneven soils, some debris and even small stones. The beds I tend to the most over are ones for small seeded crops that must be direct sown, especially carrots, baby greens and beets. Prepping for sowing these crops is the focus of this article.
If you've ever had half of a sowing of small seeded crops germinate perfectly, and the other half, terribly; or had weeds overtake tiny seedlings before they have a chance of making it, you might want to try the following techniques.
To begin, the guiding principles behind creating the best seedbed are creating the proper texture, tilth, soil to seed contact and moisture. Read on for more on how to know what this looks like and how to create it.

1. Wait until soil is workable. We write about this often, because it is important. Firstly, soggy soils are heavy and wet and can kill seeds. Secondly, creating the proper texture is impossible if your soil is wet and heavy. Review how to tell when to work the soil from our Sow What Now April post.
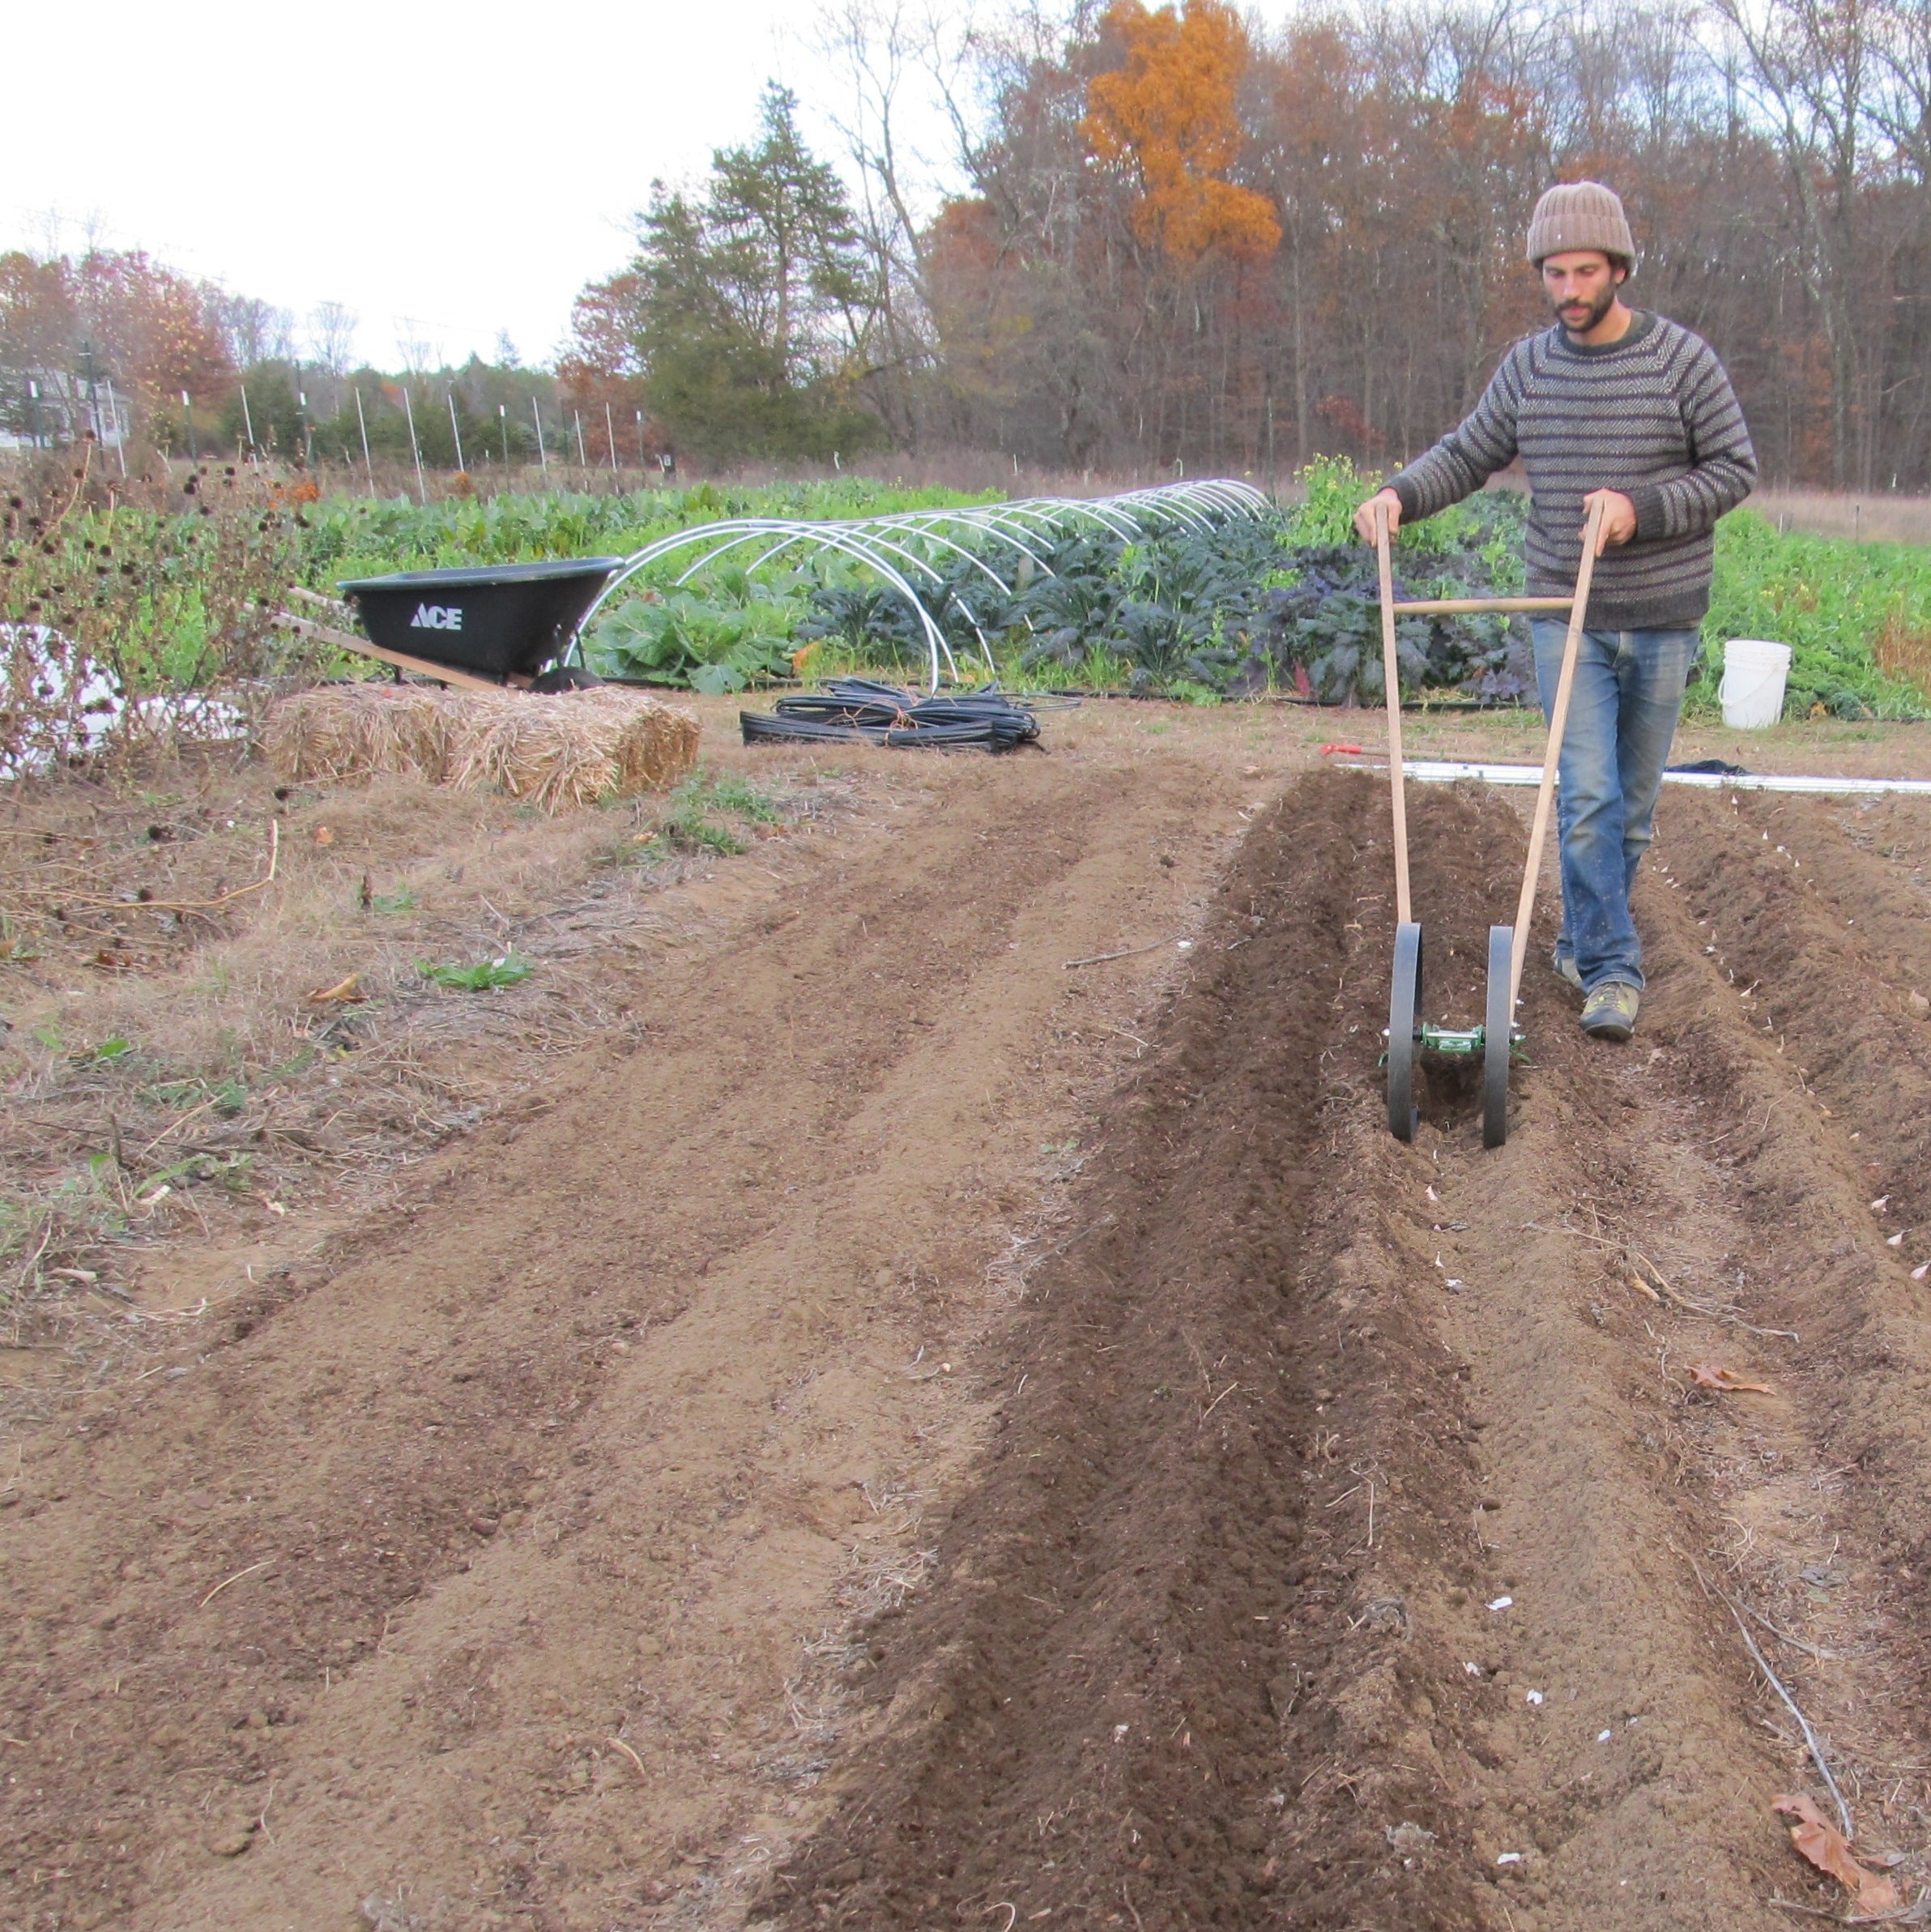
3. Shape your bed. If you haven't already done so, now is the best time to tighten up the shape of your bed. For seed beds in particular, I find that having a slightly raised bed, about 4" above the pathway is best. Use a shovel or hoe to establish your pathway, and pile the dirt on your growing space.
4. Amend the soil. A perfect stone free, silty loam soil is the best medium for direct sowing small seeded crops, but most of us don't have that! What makes that soil type perfect is the combination of being fertile and well-drained, with enough organic matter to retain the right amount of moisture and nutrients. When amending the soil, you always want to balance the soil you have towards that direction. The very best way to do this for serious gardeners or farmers, is by sending your soil off to be tested, and following the recommendations of soil experts. However, if that's not possible, and your soil texture is on the clay side, or and the sandy side, amending the entire bed with 1" of quality, finished compost each year is a great way to correct problematic soils.
5. Create the right texture and tilth. So you've assembled your arsenal of tools, you've spread some good compost over the bed surface, now what? Here's the aim: a smooth even soil that has been aerated, but not over worked. Over-worked soil can form a hard crust that becomes impenetrable. How do you find that balance?
First off, when prepping for sowing small seeded crops, remove debris and any rocks or stones. (This isn't necessary when planting transplants or sowing peas or beans, in my opinion, though others may disagree.)
Now, using your garden fork or broad-fork, aerate the soil. Basically, you want to gently loosen the soil as deep as the roots will go, without turning, or flipping the soil. Flipping or stirring the soil so deep will destroy the soil structure.
After aerating the soil, incorporate the compost into the top 2-3 inches. The key is to work the soil enough so that there are no large, impenetrable, chunks of compost, but no so much that the soil structure is completely destroyed.
6. Keep it smooth, tight and level. Once you've established the right tilth and texture, it's time to smooth it out and pack it down a bit. An even, smooth surface minimizes variables and allows each seed to be sown at the same depth. A level bed keeps soil and seeds from washing away. Once your bed is smooth and level, "tighten it" by gently packing the surface. I use the end of a hard rake, your hand works well, and for bigger operations there are gently weighted rollers that achieve an even result. This "packing" keeps soil from being overly fluffy, and helps ensure good soil to seed contact when you sow your seeds.
7. Let the beds sit. All that work and now there is more waiting! If you don't have time, you can go ahead and seed into your well-prepared bed, but for the best results, let your bed sit for 2 weeks. Water it a few times and let the weed seeds that are in the top 1-2" of soil germinate, then, on a dry, sunny day, knock them down with a stirrup hoe, or another tool. They should fry and die, and by the next day your bed is ready for seeds.
8. Sow at the proper seed depth and keep moist. With all your careful bed prep, be sure to plant your seeds at the proper depth, at about 4 times their size, and keep watered evenly. Revisit Doug's post for more.