7 TIPS FOR INDOOR SOWING
What to know before you sow.
Starting seeds indoors, when done right, is one of the most satisfying aspects of gardening. To see young, green shoots emerge from the soil–while winter carries on outside–fills one with hope and optimism for the new growing season. When those first cotyledons unfurl, spring itself can't be far behind. Starting indoors is also essential for tomatoes, peppers, eggplant, and other warm season crops–if you want a decent harvest.
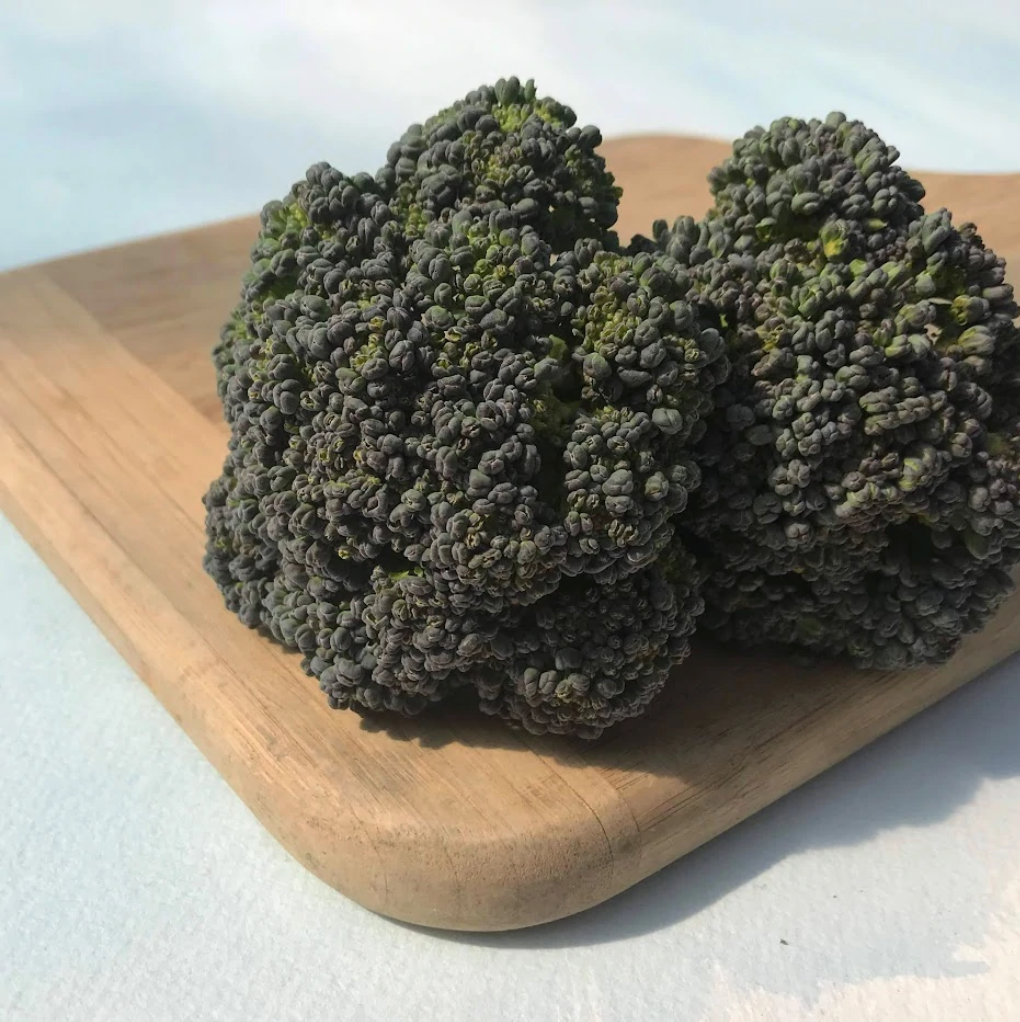
For the home gardener lacking a heated greenhouse, there are two main ways to start seeds under protection: indoors or in a cold frame. For many, starting seeds indoors is the preferred, tried-and-true method. However, despite what most people believe, to be successful requires more than just a sunny windowsill. If you are new to indoor sowing, check out our video tutorial for a brief overview of the basics. For nearly guaranteed success with indoor sowing, try the following easy crops: Broccoli, Kale, Cosmos, and Zinnias. All of these varieties will readily germinate, produce robust seedlings, and grow fairly quickly.
Successful indoor seed-starting requires the following components:
WARMTH: Most seeds will germinate within a fairly wide range of different temperatures. The swiftest germination takes place for most seeds of annual crops when soil temperatures are in the 70-80 degree range. The most notable exception to this is lettuce, which prefers a cooler temperature range of 60-70 degrees. Warmth is usually provided either by locating your seed-starting set-up strategically (near a wood stove or radiator, usually) or using a propagation mat, an electrical device that supplies bottom heat to the undersides of trays. In most cases an interior temperature of 60-70 degrees is not warm enough for quick germination, but seeds usually will germinate eventually (lack of supplemental heat is especially detrimental to peppers and eggplants, both of which are REALLY SLOW to germinate when left at room temperature).
MOISTURE: Seeds sown indoors are easy to water, but be sure to locate the seeds somewhere where you'll be free to water liberally when needed. Watering can create drips and mess, and if you put the set-up in a pristine living room you risk being too precious about things to get done what has to get done. Water lightly, just enough to moisten the soil but not so much that it becomes muddy or gloopy; overwatering paired with poor air circulation can lead to "damping off"–the dreaded horticultural disease that kills new seedlings.
LIGHT: For nearly all varieties (except lettuce), a sunny windowsill just doesn't cut it. South-facing bay windows might do the trick–but for most situations, extra light is necessary when starting seeds indoors. The most affordable way to provide this is to purchase a shop-light fluorescent fixture and suspend it within 1-2 inches of the emerging seedlings. Run it for 12-14 hours every day. And if you can set it up against a window, so much the better.
SOIL: A good quality soil mix allows the three elements above to function harmoniously and provide the seedlings with nutritious and safe (from diseases and bacteria) environment. Choose a sterile organic seed starting mix, like our Organic Mechanics Seed Starting Blend. Many seed starting blends are extremely light and loose in texture and don't absorb water readily; if this is the case, try pre-moistening your growing medium in a tub before adding it to your containers. If you want to make your own soil mixture from scratch, Penn State Extension offers some easy-to-follow instructions here. Once your seedlings are ready to be transplanted, feel free to side-dress your plants with compost and lightly fertilize; our Hudson Soil Co. Compost improves water retention and adds nutrients.
CONTAINERS: There are a myriad options for containers, from complex mini-greenhouses to simple wood boxes. We prefer simple and mostly use biodegradable planting pots in our gardens and plastic cell-packs on our farm. (For small projects, try our eco-friendly Ceramic Self-Watering Seed-Starting Tray.) The choice is yours: consider how much space you are working with and how many times you're planning on potting-up before transplanting. Make sure your container is at least 2 to 3 inches deep with drainage holes at the bottom. If reusing last season's, clean with warm, soapy water first to prevent the chance of disease.
SOWING: Pack soil into containers loosely; try not to compact it. Most seeds prefer a depth of about 2 times their length. The tiniest seeds can be sprinkled directly on the surface. Cover the seeds with a thin layer of soil. Plant about 3 seeds per hole (more if using older seeds) and once they germinate, thin down to leave only the strongest seedling. Margaret Roach, author of A Way to Garden, says, "wait until they get their first set of true leaves (not the first ones, called seed leaves, that all look basically the same, but the ones that start to have the character of the specific plant. Then use a small scissor to snip off the weaker of the two right at the base. Pulling it may dislodge the one you intend to keep." Deadheads Mini-Snips are the perfect tool for this job. But when is the best time to sow? Try Margaret Roach's extremely handy Spring Sowing Calculator to time your sowings.
HARDENING OFF: Seedlings grown indoors are incredibly tender and sensitive, as they are subjected to neither the temperature swings nor breezes found outdoors. If you were to move them directly from the house to the garden, the shock would severely damage or kill them. Indoor-grown seedlings require full hardening off: a period of about 3-7 days when the seedlings are exposed in increasing doses to the natural elements. Start with a couple hours the first day, and gradually work your way up to 8 or 12 hours before transplanting them. Be sure to take on this process at the correct time for each variety.
And now you're all set to sow!
Shop these easy indoor varieties: