 The seed-saving season arrives gently around here, with early dry seeded varieties ripening first, letting us ease back into the hectic rhythm that will soon descend upon the farm as more and more seed crops are ready to be harvested. Every year we grow mache, parsnips, kale or broccoli, peas and lettuce for seed.
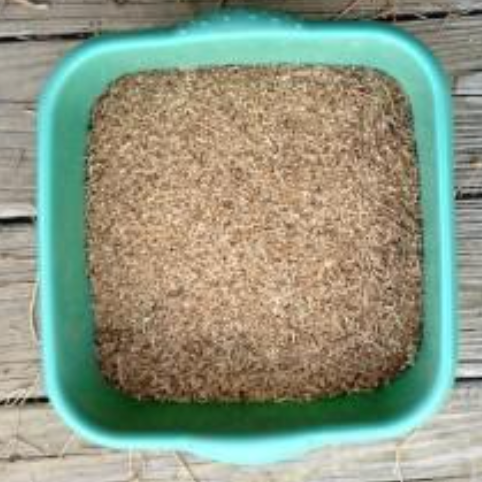
Mache is an extra-hardy green that comes up as early as March, before any other signs of life appear in the winter landscape. Because of its rushed timeline, Mache is also one of the first crops to set seed on our farm and often marks the start of the seed saving season. This year was no exception – our Mache seeds are already dried, collected, and stored and the bed where the Mache grew is now bare and ready to house the next crop. Kale, parsnips and peas followi closely in Mache’s footsteps: every day, we collect more and more ripe seeds. Here’s how we go through the dry seed saving process, shown in the gallery below of our chervil seed crop:
Harvesting: Dry seeds are generally ripe once the seed-heads turn dry and brown. For Mache and Chervil, the seeds will grow out of the flower heads. The petals will be replaced by tiny green pods that will become plump and then dry out. For Pea vines, the seeds are the peas themselves. They are ripe when each pod dries out to brittleness and the peas inside feel hard (and, if you’re lucky – rattling).
If you haven’t rogued your seed crops yet, this is your last chance! Harvest seeds only from healthy-looking, robust plants and avoid collecting seeds from plants that show any signs of disease.
To harvest, clip Mache and Chervil stems about a foot below the seed heads and collect them upside down into a bucket or bag. For Peas, pull off fully dried pods and leave them intact for now. Some plants will ripen quicker than others, so the seed harvest for an entire crop may take a few days or even (in the case of peas especially) a few weeks.
Spread out your harvest in a single layer on a screen (we use old window screens, colanders are another good option, newspaper is okay too if there are no screens available). Make sure the holes in the screen are small enough so the seeds don’t slip through! Place it in a well-ventilated and dry area for a few days to ensure all the seeds are thoroughly dry. If a fan is available, consider turning it on (far enough from the seeds so they don’t blow away) to increase air flow.
Note on wet weather: For the strongest seeds, it is best to let them fully ripen on the plant before harvesting. However, if the seeds are close to ready and rain is looming in the forecast, it’s better to harvest the seeds early and finish the drying process indoors. To dry unripe seeds inside – hand the seed-heads upside down for a week or until the seeds are dry and hard.
Cleaning: Threshing, or separating the seeds from the rest of the plant matter, is not an essential step, but it does allow one to know how much seed has been harvested, makes it much easier to sow the seeds next season, and eliminates a potential habitat for mold, insects, and critters.
With Peas, the first step is to crack open the pods by hand and take out the seeds. With Mache and Chervil, the process starts by taking the seed-head branches and whipping them against the side of a tub or a bucket so that most of the seeds will separate from the branches and fall into the bottom of the container. These initial steps will separate out most of the large bits of plant material. Pieces of stems, leaves, flowers, and pods will still remain. There are a number of methods for cleaning out the finer chaff. We suggest experimenting and finding the right one (or four) for you:
Screening: screens of varying mesh size will either allow the seeds through and prevent bigger bits from falling in, or the opposite – mesh smaller than the seeds will allow dust and bits of material through but leave the seeds clean in the screen.
Winnowing: slowly pouring the seeds and chaff from one container to another container that is a few feet below in a gentle wind (or a gentle fan) will make the seeds fall into the second container, while any chaff lighter than the seeds will fly off.
Sloping: for round seeds (such as Mache or Peas), a sloping surface can be effective. Slowly pouring out the seeds and chaff at the top of the slope will leave most of the debris at the top and let the seeds roll down to the bottom.
Swirling: slowly swirling seeds around in a shallow bowl or bucket will collect some of the chaff at the center of the container. You can then pick it off with your hands or blow it away with your breath.
Storage: After the seeds are cleaned, keep them in a paper bag for a few more weeks to extract any remaining moisture. Then, place them in a sealed container (glass jars are great for this), and label the variety as well as month and year of harvest. Keep them in a dry, dark, and cool place. If you live in a humid area, consider adding a silica pack with the seeds to help them ward off moisture. Cool, but not freezing temperatures are ideal, but a warmer (normal room temperature) space will do okay, it just may decrease the germination rate of the seeds a bit, but not to a significant amount if you plan on sowing the seeds next spring.


